
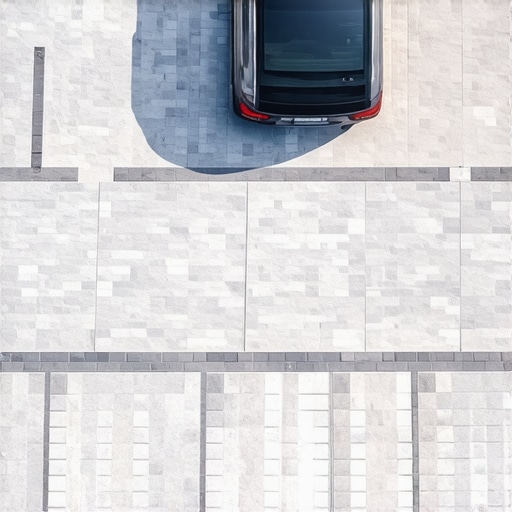
A driveway is not a decoration. It is a civil engineering project that happens to be on your property. Most homeowners view driveways through the lens of aesthetics, but as a contractor who has spent two decades excavating failed projects, I can tell you that the surface is only 10% of the equation. If you are parking a 6,000-pound SUV on it daily, you aren’t just looking for a pretty stone; you are managing dynamic loads and hydrostatic pressure. Choosing the most durable pavers for a high-traffic driveway requires an understanding of compressive strength, water absorption rates, and the structural integrity of the sub-base. Skip the big-box store ‘paver’ slabs. They will crack in two seasons.
The Hardscape Autopsy: Why Most Driveways Fail
Selecting **interlocking concrete pavers** with a minimum thickness of 80mm and a compressive strength of at least 8,000 PSI is the gold standard for high-traffic driveways. These units handle **dynamic loads** better than poured concrete because they distribute weight across an integrated grid, preventing the structural cracking common in rigid slabs. I recently got called out to tear up a $30,000 driveway that was sinking and spider-webbing because the previous contractor used 60mm patio pavers on a 2-inch base of stone dust. Stone dust holds water, freezes, and heaves. We spent four days just excavating the mess. The homeowner thought they saved money on materials, but they ended up paying twice for the labor. Never compromise on the base. It is the only thing actually holding the weight of your vehicles.
“A retaining wall or driveway doesn’t fail because of the stone; it fails because of the water trapped behind or beneath it.” – Hardscape Engineering Axiom
The Engineering of the Sub-Base
Before we even talk about the pavers, we have to talk about the dirt. In my region, we deal with heavy clay that expands when wet. If you slap pavers on top of that, they will move. A high-traffic driveway requires a minimum of 8 to 12 inches of compacted 2A modified crushed stone. We compact this in 2-inch lifts. You can’t just dump a foot of gravel and run a plate compactor over the top; the bottom 10 inches will remain loose. Every lift needs to be hit with a vibratory rammer until the stone literally bounces the machine back at you. That is how you reach 95% Proctor density.
| Material Type | Compressive Strength (PSI) | Thickness Recommended | Best Use Case |
|---|---|---|---|
| Interlocking Concrete | 8,000 – 10,000 | 80mm (3.15″) | Heavy SUVs, Daily Traffic |
| Clay Brick (Driveway Grade) | 10,000+ | 2.75″ – 3″ | Extreme Durability, UV Resistance |
| Natural Granite Setts | 15,000+ | 4″+ | Lifetime Heavy Use, Historic Look |
| Standard Patio Pavers | 4,000 – 5,000 | 60mm (2.36″) | Foot Traffic Only (Avoid for Cars) |
Which Paver Material Actually Lasts?
Concrete pavers are the most common for a reason. They are engineered to tight tolerances (ASTM C936). However, not all concrete pavers are equal. You need ‘face-mix’ pavers where the pigment and fine aggregates are concentrated on the top layer. This prevents the ‘fading’ look where the large gravel inside the paver starts showing through after a few years of salt and snow-shoveling. Clay pavers are another beast entirely. Genuine driveway-grade clay is fired at higher temperatures for longer periods, making them nearly impervious to chemicals and freeze-thaw cycles. They are harder than concrete but more difficult to cut. If you want a 50-year driveway, go clay or granite. If you want a 25-year driveway with more color options, go high-end concrete.
How much modified gravel do I need for a driveway base?
To calculate your base material, multiply the square footage by the depth in feet (e.g., 0.66 for 8 inches) and divide by 27 to get cubic yards. For a standard 1,000-square-foot driveway at an 8-inch depth, you will need approximately 25 to 30 tons of modified stone including compaction loss. Don’t eyeball this. If you are short on stone, the driveway will settle in the wheel paths within eighteen months. We always over-order. Excess stone can be used for drainage or utility paths. Under-ordering is a recipe for a structural failure.
Is 60mm or 80mm better for driveway pavers?
For any vehicle traffic, 80mm (roughly 3.15 inches) is mandatory. A 60mm paver is designed for patios and walkways. While a 60mm paver might hold a parked car, it cannot handle the torque of a steering wheel turning while the vehicle is stationary. That ‘twisting’ motion creates sheer stress that will snap a thinner paver. If your contractor tells you 60mm is fine for the driveway to save you money, fire them. They are looking for a quick exit, not a long-term solution.
Integrating Landscaping and Irrigation
A driveway doesn’t exist in a vacuum. During a **yard cleanup** or full **landscaping** overhaul, you must consider how water moves off the driveway and into your **sod install**. We always install a French drain or a trench drain at the base of the driveway if it slopes toward the garage. Furthermore, never run your **irrigation** lines directly under the driveway without a PVC sleeve. If a pipe bursts under 10 inches of compacted stone and pavers, you’re looking at a $5,000 repair just to find the leak. We use Schedule 40 PVC sleeves every time. It’s cheap insurance. When we do a **sod install** adjacent to a new driveway, we ensure the soil grade is 1 inch below the paver edge. This prevents ‘edge creep’ where grass roots lift the outer pavers.
- Use non-woven geotextile fabric between the sub-grade (dirt) and the base (stone). This prevents the stone from sinking into the mud over time.
- Apply polymeric sand to the joints. Not play sand. Polymeric sand hardens to keep weeds out and prevents the pavers from shifting horizontally.
- Install a concrete curb or heavy-duty edge restraint. Without it, the driveway will spread like a pancake.
- Check your 811 marks before excavating. We’ve seen too many DIYers hit gas lines because they thought ‘it’s just a driveway.’
“The interlocking strength of a paver system is derived from the sand in the joints and the friction between the units, but that strength is irrelevant if the earth beneath it is plastic.” – ICPI Technical Manual
The Installation Process: Precision over Speed
The screeding process is where the amateur is separated from the pro. We use 1-inch O.D. steel pipes to create a perfectly flat bedding layer of coarse concrete sand (ASTM C33). This sand isn’t for leveling the base; it’s a setting bed. If your sand layer is thicker than 1 inch, the pavers will ‘rut’ under tire pressure. It must be exactly 1 inch. Once the pavers are laid, we run a plate compactor with a protective mat over the top. This vibrates the sand up into the joints from the bottom, locking the units together. Then we sweep in the polymeric sand. It is a loud, dusty, miserable day of work. But when you’re done, that driveway is a monolithic structure. It won’t move. It won’t crack. It just works.
Long-Term Maintenance and Expectations
In the first year, you might see some efflorescence—a white salty powder rising to the surface of concrete pavers. It’s a natural chemical reaction. Don’t panic and don’t seal it yet. Let the pavers breathe for a full four seasons. After a year, do a thorough **yard cleanup**, power wash the surface (carefully), and apply a high-quality breathable sealer. This protects against oil drips and salt damage. If you have an **irrigation** system, make sure the heads are adjusted so they aren’t constantly soaking the driveway. Constant saturation can soften the joint sand over years of use. Maintenance is minimal, but it is not zero. Sweep it. Keep the edges trimmed. Watch the water flow. If you do that, your grandkids will be parking their hover-cars on this same driveway.