
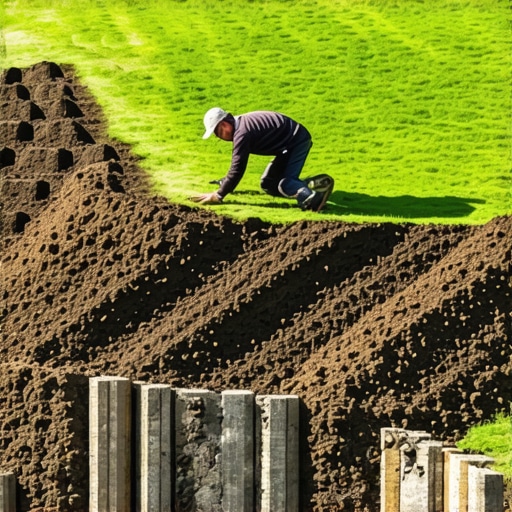
The Reality of Gravity in Landscape Engineering
Laying sod on a flat suburban lot is basic labor; laying it on a 30-degree incline is a civil engineering challenge that most ‘mow-and-blow’ crews get dead wrong. I always drill into my new crew members: if you don’t fix the soil grading and establish mechanical anchoring first, every square foot of Kentucky Bluegrass or Tall Fescue you put in the ground is just expensive compost waiting to slide into the gutter after the first thunderstorm. Gravity is relentless. It works 24/7 to pull your investment down the hill, and if you haven’t accounted for soil shear strength and hydrostatic pressure, you’re throwing money away. We don’t just ‘lay’ sod here; we anchor it into the biological and physical matrix of the site.
Why Sod Slides Off Hillsides
To prevent sod from sliding on a steep hill, you must use 6-inch U-shaped metal sod staples driven flush into the soil, stagger the sod pieces in a brick-like running bond pattern, and ensure the long edges run perpendicular to the slope to maximize friction and water capture.
The physics of a sliding lawn come down to the ‘slip plane.’ When you place a fresh layer of sod on top of existing soil, you are essentially placing two different materials against each other without any structural bond. During a heavy rain, water lubricates this interface. If the soil underneath is compacted—which it usually is after a house is built—the water can’t penetrate. It sits between the sod and the subsoil, turning your new lawn into a green sled. We use the ‘perpendicular-to-slope’ rule because it creates a series of mini-terraces. If you run the seams vertically, you’re just creating water-slides that will wash out your topsoil in hours.
How deep should I till a slope before sodding?
You need to scarify or till the soil to a depth of at least 4 to 6 inches, but on a slope, you must be careful not to create a loose ‘fluff’ layer that will wash away. Use a Harley rake or a heavy-duty tiller to break the surface tension of the clay or compacted loam. This creates ‘teeth’ in the soil that the sod roots can grab onto. If the soil is too hard, the roots will just grow sideways, circling the bottom of the sod piece—a phenomenon known as root girdling—and the sod will never truly bond to the earth.
“The stability of any slope is a battle between the driving force of gravity and the resisting force of soil shear strength, which is significantly enhanced by the tensile strength of living root systems.” – Geotechnical Slope Manual
The Ground-Up Build: Site Preparation and Yard Cleanup
You cannot skip the yard cleanup phase. Any debris, dead grass, or loose rocks left on the slope will create air pockets. Air is the enemy of root growth. If the root hits an air pocket, it dies. We start by clearing every bit of organic debris. Then, we test the pH. Most people ignore this, but if your soil pH is sitting at a 5.5 (highly acidic), that sod won’t put out new roots regardless of how many staples you use. We aim for a 6.5 to 7.0 range to encourage rapid cellular division in the rhizomes. Next, we apply a high-phosphorus starter fertilizer, something like a 10-20-10 NPK ratio. Nitrogen helps the blades look green, but on a hill, we don’t care about the blades yet; we care about the roots. Phosphorus is the fuel for root development.
| Anchoring Material | Slope Gradient | Expected Lifespan | Best Use Case |
|---|---|---|---|
| 6-inch Steel Staples | 15-25% | 12-18 Months (Rusts out) | Standard residential slopes |
| Biodegradable Stakes | 10-15% | 6-9 Months | Eco-sensitive or low-maintenance zones |
| Wooden Stakes (Split) | 25% + | 2-3 Years | Extreme verticality or high-wind areas |
| Jute Matting Underlay | 40% + | Permanent till rot | Extreme erosion control |
The Installation Process: The Brick-Layer Strategy
When the sod arrives, it needs to be on the ground within 24 hours. On a hill, the clock ticks faster because the edges dry out quicker due to air exposure. We start at the bottom of the hill. This is critical. The bottom row acts as the ‘toe’ or the foundation for the rows above it. If you start at the top, the weight of the upper pieces will push the lower ones down as you work. We stagger the vertical seams just like a brick wall. This prevents ‘channeling,’ where water finds a straight line to follow and erodes a deep trench. As each piece goes down, we drive at least 3 to 5 staples per square yard. One staple in each corner and one in the center. Don’t be stingy. If the hill is steeper than 3:1, double the staples.
How do I keep sod from drying out on a hill?
Irrigation on a slope is a nightmare if you don’t understand ‘cycle and soak.’ If you run your sprinklers for 30 minutes straight, 20 minutes of that water is just running off the surface and pooling at the bottom. You need to set your irrigation controller to run for 5 minutes, wait 30 minutes for it to soak in, and repeat that 4 or 5 times. This forces the water to penetrate deep into the subsoil rather than just washing the fertilizer away. We call this managing the hydro-dynamic load. You want the soil moist, not muddy.
“Turfgrass on slopes requires 30% more frequent irrigation intervals at 50% less duration to prevent hydraulic erosion of the sub-base and maintain moisture at the root zone.” – Irrigation Association Standards
The Post-Install Lockdown
Once the sod is down and stapled, you have to roll it. This is the part DIYers hate because a water-filled roller weighs 200-300 pounds and it’s a beast to move on a hill. Do it anyway. Rolling ensures the ‘intimate contact’ between the sod and the soil. Without it, you have air gaps. Air gaps mean death. After rolling, don’t walk on it for at least three weeks. On a slope, the shearing force of a human footprint can tear the fragile new root hairs that are just beginning to bridge the gap into the subsoil. Look for the staples to start ‘disappearing’ as the grass grows over them. Leave them there. They’ll eventually rust away and become part of the soil’s iron content, or in the case of biodegradable stakes, they’ll break down into organic matter.
Slope Sodding Checklist
- Remove all debris and perform a 6-inch deep soil scarification.
- Apply 10-20-10 starter fertilizer to stimulate root-to-soil bonding.
- Lay sod perpendicular to the slope, starting from the bottom up.
- Stagger all vertical seams to prevent water channeling and erosion.
- Drive 6-inch staples every 12 inches along the seams and in the center.
- Implement a ‘Cycle and Soak’ irrigation schedule to prevent runoff.
- Roll the sod immediately after installation to eliminate air pockets.