
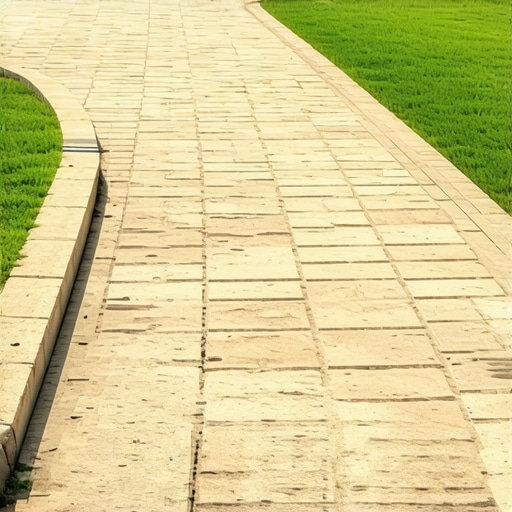
The Anatomy of a Sinking Patio: A $30,000 Autopsy
I recently got called out to tear up a $30,000 patio that was sinking because the previous contractor failed to respect the laws of physics. The homeowner was devastated. They had spent a fortune on high-end multisize pavers, but within two seasons, the perimeter was migrating toward the flower beds and the center had developed a hydrostatic dip that collected stagnant water. To stop your pavers from shifting, you must understand that the visible surface is only as stable as the sub-grade compaction and the lateral resistance of the edge restraint system. When I excavated the site, the failure was obvious: the contractor had cut the modified gravel base flush with the edge of the pavers. There was zero structural shoulder. Without that extra width, the edge restraints were essentially floating in topsoil. It was a textbook case of structural failure caused by cutting corners on the invisible parts of the job.
“A retaining wall doesn’t fail because of the stone; it fails because of the water trapped behind it.” – Hardscape Engineering Axiom
Why Your Pavers Move: The Physics of Lateral Displacement
Paver shifting and lateral displacement occur when the paver units lose their interlocking friction due to base failure, joint sand washout, or frost heave. In regions with heavy clay soils, the expansion and contraction cycles exert lateral pressure that pushes pavers outward. Without a rigid perimeter and a stabilized aggregate base, the entire system unzips from the outside in. Most DIYers think the sand holds the bricks together. It doesn’t. The polymeric sand creates a seal, but the crushed stone base and the edge restraint provide the structural integrity. If you ignore the ASTM D1557 standards for soil compaction, your patio will fail. Period.
How much modified gravel do I need for a patio base?
For a standard residential patio, you need a minimum of 4 to 6 inches of compacted modified gravel (such as 21A or CR-6) for pedestrian traffic. If the area is subject to vehicular loads or poor soil drainage, you must increase this depth to 8 to 12 inches. Calculating tonnage involves multiplying the total square footage by the desired depth in feet, then multiplying by 1.5 to account for compaction density. Don’t eyeball it; use a plate compactor in 2-inch lifts to ensure the PSI meets engineering requirements.
The Simple Edge Tweak: Spiking the Perimeter
The simple edge tweak that prevents 90% of hardscape failures is the 12-inch structural over-extension of the aggregate base. You must excavate and compact your crushed stone base at least 12 inches beyond the actual footprint of the paver installation. This creates a solid platform for the edge restraint spikes to bite into. When you drive a 10-inch steel spike into 6 inches of compacted 21A, it stays put. When you drive it into uncompacted topsoil at the edge of a pit, it moves the first time someone steps on the perimeter. This tweak provides the lateral resistance necessary to counter hydrostatic pressure and thermal expansion.
| Edge Restraint Type | Material Longevity | Lateral Resistance | Best Use Case |
|---|---|---|---|
| Heavy-Duty Plastic | 15-20 Years | Moderate | Curved walkways and residential patios |
| Aluminum Bending | 25+ Years | High | High-traffic commercial or clean-line modern designs |
| Cast-in-Place Concrete | 30+ Years | Very High | Permeable pavers and heavy slope transitions |
| Pressure Treated Timber | 5-10 Years | Low | Low-budget temporary structures (Not recommended) |
What is the best edge restraint for pavers?
The best edge restraint for pavers depends on the geometry of the design, but for most professional landscaping projects, heavy-duty PVC or aluminum restraints are superior. These materials provide flexibility for curves while maintaining rigidity against lateral shifting. The key is ensuring the restraint is secured with non-galvanized spikes every 8 to 12 inches. In freeze-thaw climates, concrete structural borders or “soldier courses” set in a mortar bed offer the highest level of perimeter stability.
Soil Dynamics and Hydrostatic Pressure
Landscaping is a fight against gravity and water. If your irrigation system is dumping water directly under your paver base, the sub-grade will saturate and turn into a slurry. This leads to pumping, where the bedding sand is forced up through the paver joints. You must address yard drainage before laying a single stone. This includes grading the soil at a 2% slope away from foundations and installing French drains or NDS catch basins where necessary. A yard cleanup isn’t just about leaves; it is about ensuring surface runoff isn’t undermining your hardscape engineering.
“Compaction is the single most important variable in hardscape longevity. Without it, you are just decorating a disaster.” – ICPI Manual of Standards
The Maintenance Protocol: Polymeric Sand and Joint Integrity
Once the structural base and edge restraints are locked in, the final defense is polymeric sand. This is not regular play sand. It is a mix of graded sand and polymer binders that harden when misted with water. This prevents weed growth and insect infestation, but more importantly, it creates a monolithic surface that distributes weight across the entire paver field. If you see the sand eroding, you must perform a yard maintenance check and top it off immediately. Empty joints lead to loose pavers and tripping hazards. Do not use a pressure washer directly on the joints or you will blow out the interlock.
- Step 1: Excavate 12 inches beyond the planned paver edge.
- Step 2: Lay non-woven geotextile fabric to separate sub-soil from aggregate.
- Step 3: Compact modified stone in 2-inch increments using a vibratory plate compactor.
- Step 4: Install edge restraints directly onto the compacted base, not on top of bedding sand.
- Step 5: Drive spikes at a slight angle toward the paver field for maximum leverage.
- Step 6: Sweep in polymeric sand and perform a compaction pass on top of the pavers to set them.
Professional Insight: The Sod Install Overlap
When performing a sod install around a new patio, many crews make the mistake of piling topsoil against the edge restraint. This traps moisture and leads to rot or heaving. Instead, ensure the soil grade sits roughly 0.5 inches below the paver surface. This allows for water runoff and ensures the grass roots don’t migrate into the paver joints. A clean mechanical edge between the turf and the hardscape is the hallmark of a veteran landscaper. It makes irrigation more efficient and prevents the sod from wicking moisture into the base material. Proper landscaping requires thinking about how these two distinct systems—the living biological turf and the engineered stone—interact at the transition line.