
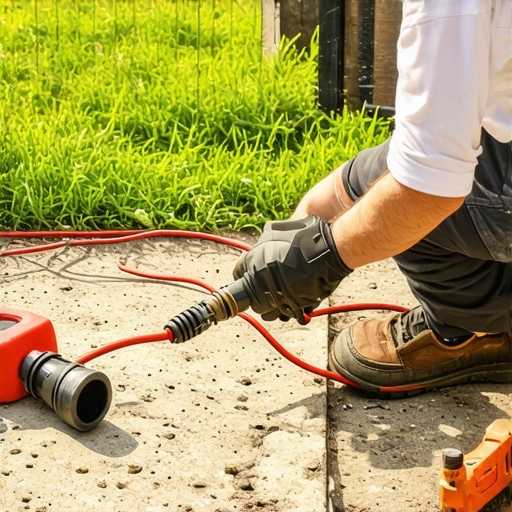
Diagnosing the Dead Zone: Why Sprinkler Wires Fail
To fix a broken sprinkler wire, you must locate the electrical discontinuity using a multimeter or wire tracker, excavate the damaged section, and secure a waterproof connection using UL-listed grease-filled connectors. This process restores the 24V AC signal required to actuate the solenoid valve. Every second a wire stays severed, your yard cleanup efforts are being undone by localized drought.
I always drill into my new crew members: if you do not fix the soil grading and protect your utility lines first, every plant you put in the ground is just expensive compost. Last season, I watched a green apprentice nick a main valve wire with a spade during a sod install. He thought he could just twist the copper together and bury it. Three weeks later, the entire zone was a scorched, brown mess because the soil moisture corroded the bare copper in days. We don’t do ‘twist and tape’ in this firm. We do engineering.
“Irrigation control systems rely on low-voltage electrical circuits where resistance must be kept to a minimum to ensure solenoid reliability.” – Irrigation Association Technical Manual
How do I find a break in my sprinkler wire?
Finding a break requires a systematic exclusion of variables starting at the controller. Use a multimeter to check the Ohms (resistance) at the terminal strip; a reading of zero or infinity indicates a complete break or a short. If the controller shows a ‘fault’ or ‘off’ code, the circuit is open. You will need an inductive wire tracer to follow the signal through the soil until the ‘null’ point is found. This is where the shovel hit the copper.
The Forensic Anatomy of Irrigation Wire Failure
Irrigation wire failure is rarely a mystery; it is usually the result of mechanical trauma or chemical corrosion at the splice point. Direct-burial rated wire is designed to withstand moisture, but once the insulation is breached by a shovel or a rodent, the copper undergoes rapid oxidation. This oxidation increases resistance until the 24 volts from your transformer can no longer pull the plunger inside the solenoid valve. The result is a dead zone that no amount of fertilizer can save.
In heavy clay soils, the freeze-thaw cycle can actually snap wires that were pulled too tight during installation. We call this ‘tension snapping.’ When we perform a yard cleanup, we often find that previous contractors didn’t leave enough slack in the wire runs. You need ‘S-curves’ in your trench. Without them, the earth moves and the wire breaks. It is simple physics. You cannot fight the expansion of the soil; you can only accommodate it.
| Wire Gauge (AWG) | Maximum Run Length (ft) | Common Application |
|---|---|---|
| 18 AWG | 800 | Residential Multi-strand |
| 14 AWG | 2,500 | Commercial Single-strand |
| 12 AWG | 4,000 | Large Scale / Golf Course |
Can I use wire nuts for irrigation?
Standard wire nuts are for dry-location junction boxes, not the dirt. In a subterranean environment, a standard wire nut is a failure waiting to happen. You must use DBR/Y-6 kits or similar grease-filled, waterproof connectors that encapsulate the copper. If the copper touches the soil, it will rot. Moisture is the enemy of conductivity. Even a small amount of humidity inside a wire nut will create a high-resistance bridge that eventually burns out your controller’s transformer.
Step-by-Step Remediation: The Professional Fix
Restoring a severed irrigation line requires more than just making a connection; it requires protecting that connection for the next twenty years. Follow this protocol to ensure your sod install doesn’t die from a simple electrical fault. Don’t skip the testing phase.
- Step 1: Locate the Fault. Use a multimeter to confirm the zone is dead. Disconnect the zone wire and the common wire from the timer and test the resistance.
- Step 2: Excavate with Precision. Use a hand trowel, not a full-sized shovel, to expose the break. You need to see at least 6 inches of wire on either side.
- Step 3: Clean the Copper. Strip back an inch of insulation. If the copper is black or green, keep stripping until you see bright, shiny metal.
- Step 4: Mechanical Connection. Use a wire nut to join the wires, then insert that nut into a grease-filled waterproofing tube.
- Step 5: Verify the Ohms. Go back to the controller and test again. You should see 20-60 Ohms depending on the solenoid type.
- Step 6: Strain Relief. Loop the wire into an ‘S’ shape before backfilling to prevent future snapping.
“A retaining wall doesn’t fail because of the stone; it fails because of the water trapped behind it, and an irrigation system doesn’t fail because of the pipe; it fails because of the wire buried beneath it.” – Hardscape Engineering Axiom
The Maintenance Schedule for Electrical Integrity
Irrigation systems are not ‘set and forget’ infrastructure. You should perform a seasonal audit of your valve boxes. Open them up. If you see standing water or mud over the wires, your drainage is failed. This moisture will eventually find a way into your splices. Clean out the debris. Check for evidence of chewing from voles or moles. A professional yard cleanup includes inspecting the heart of the system, not just raking leaves. Your irrigation wire is the nervous system of your landscape. If the nerves are shot, the body dies. Keep your splices high, dry, and greased. It will save you thousands in dead sod and labor down the road.