
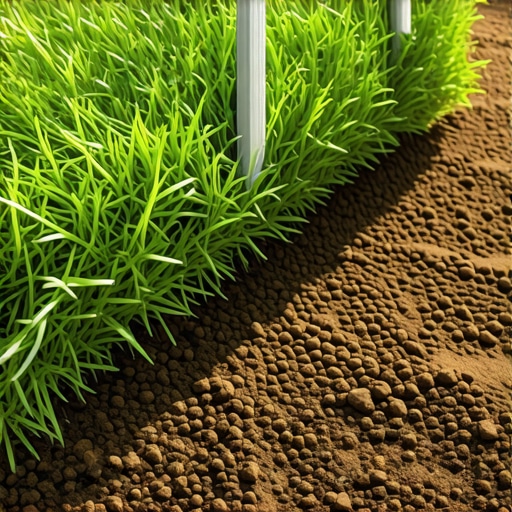
The Science of the Unbroken Turf Surface
To ensure a seamless sod installation, you must meticulously grade the soil, remove all organic debris, and ensure 90% soil-to-root contact. The uniform look comes from staggering the seams like brickwork and tightly butting the edges without overlapping or leaving gaps that lead to desiccation. My name is a name you would recognize in high-end landscaping circles, and I always drill into my new crew members: if you don’t fix the soil grading first, every plant you put in the ground is just expensive compost. I have seen too many rookies slap down sod on hard-packed clay, only to watch it turn into a $5,000 brown carpet within two weeks. Landscaping is not just aesthetic decoration: it is civil engineering with a biological component. If you think you can just roll out grass like a rug, you are mistaken.
The Critical Yard Cleanup and Soil Physics
Before a single blade of grass touches your property, the yard cleanup phase must be exhaustive. We are talking about the removal of all stones larger than 0.5 inches, the eradication of invasive rhizomes, and the correction of the soil’s bulk density. If your soil is compacted beyond 1.5 grams per cubic centimeter, your new sod roots will hit a literal wall and stop. We use mechanical aerators or tillers to break up the surface, then we integrate organic matter to improve the cation exchange capacity. This ensures that the nitrogen you apply actually stays in the root zone instead of leaching into the groundwater. I often see ‘mow-and-blow’ contractors skip this, leaving 2 inches of dead thatch under the new sod. That thatch acts as a hydrophobic barrier, preventing water from reaching the subsoil. It is a death sentence for the turf.
“Successful establishment of sod is dependent upon the rapid development of roots from the sod into the underlying soil.” – Pennsylvania State University Agricultural Extension
The Engineering Logic of the Sod Install
The term ‘overlapping’ is frequently misused by homeowners. In a professional sod install, we never actually overlap the edges in a vertical stack. If you lay one piece of sod on top of another, the top piece will dry out and the bottom piece will rot due to lack of oxygen. What we actually do is ‘compression butting.’ You lay the first row along a straight edge, such as a sidewalk or a string line. The second row is then offset by 50%, creating a running bond pattern. When you place the edges together, you must firmly push the edges against each other so they are slightly crowded. This eliminates the air gaps that cause ‘edge brown-out.’ If you can see the dirt between the rolls, you have failed the installation.
How much water does new sod need?
New sod requires 1 inch of water immediately after installation to saturate the top 4 inches of soil. You must maintain soil moisture near field capacity for the first 14 days, watering 2 to 3 times daily in short bursts to prevent the blades from wilting without drowning the delicate new root hairs.
Irrigation and the Hydrostatic Reality
Your irrigation system is the life support for this project. Before the sod arrives, we run a catch-can test to measure the precipitation rate of every zone. If your Zone 1 is putting out 0.5 inches per hour and Zone 2 is doing 1.2 inches, your lawn will look like a checkerboard of green and yellow. We adjust the nozzles to ensure matched precipitation. During the first week, the goal is not deep watering: it is keeping the ‘mat’ wet. Once the roots begin to knit into the subsoil, which usually happens around day 10, we pivot the strategy. We move to deep, infrequent watering. This forces the roots to chase the moisture downward, creating a drought-resistant system. If you keep the surface constantly soaked for a month, you will develop Pythium blight or other fungal pathogens that will melt your new lawn overnight.
| Material Property | Standard Specification | Benefit for Sod |
|---|---|---|
| Soil pH Level | 6.0 to 7.0 | Optimal nutrient availability |
| Phosphorus (P) | High Starter Rate | Accelerates root initiation |
| Compaction Level | < 80 PSI | Allows for rapid root penetration |
| Sod Thickness | 0.75 to 1.0 inch | Provides enough soil for transport |
Why do my sod seams show?
Visible seams are typically caused by improper butting or dehydration. When sod dries, it shrinks. If the edges were not tightly compressed during the landscaping process, the gap widens, exposing the roots to air. This creates a permanent brown line that can only be fixed by top-dressing with a sand and peat moss mixture.
The Professional 10-Step Sod Checklist
- Verify soil pH is between 6.2 and 6.8 before delivery.
- Kill all existing vegetation with a non-selective herbicide 10 days prior.
- Grade the site with a 1% to 2% slope away from the home foundation.
- Apply a high-phosphorus starter fertilizer at a rate of 1 lb per 1,000 sq ft.
- Moisten the bare soil slightly before laying the first roll.
- Stagger all joints in a brickwork pattern.
- Use a sharp linoleum knife for precise cuts around irrigation heads.
- Roll the entire area with a 200 lb water-filled roller to remove air pockets.
- Initiate the first irrigation cycle within 30 minutes of laying the first roll.
- Avoid all foot traffic for the first 21 days of establishment.
“Standard practice for high-quality turf installation requires a staggered-joint pattern to minimize erosion and promote lateral root integration.” – International Turfgrass Society Research Journal
After the roll is down and the seams are tight, we use a lawn roller. This is the most underrated step in the process. A heavy roller ensures the roots are in direct contact with the dirt. Without it, you have microscopic air pockets that act as insulators, preventing the roots from drawing moisture from the earth. I have seen guys try to use their feet to ‘stomp’ the seams. That is amateur hour. You need uniform pressure across the entire surface. If you see a hump or a dip, you pull the sod back, fix the grade, and re-lay it. There are no shortcuts in this business. High-quality landscaping is about discipline and the understanding that the biology of the plant dictates the schedule, not your weekend plans.
[image_placeholder_1]