
The Hardscape Autopsy: Why Most Fire Pits Fail Within Two Seasons
I recently got called out to tear up a $30,000 patio that was sinking because the previous contractor failed to account for the structural load and thermal expansion of a massive natural stone fire pit. The homeowner thought they were getting a premium build, but the ‘pro’ they hired didn’t understand the difference between decorative pavers and refractory materials. Within 18 months, the heat from the wood-burning unit had dehydrated the subsoil, causing localized subsidence that cracked the surrounding flagstone. This is what happens when you treat hardscaping like a DIY weekend craft project rather than a civil engineering task. I had to jackhammer out five tons of concrete and stone just to fix a base that should have been six inches of compacted 2A modified gravel from the start. If you don’t respect the physics of fire and the geology of your yard, you are just throwing money into a hole in the ground.
The Primary Safety Offset: Minimum Safe Distances for 2026
For a 2026 fire pit installation, a minimum safe distance of 10 to 25 feet from any combustible structure, low-hanging tree canopy, or property line is the absolute industry standard. This specific buffer zone prevents pyrolysis in nearby wood siding, protects structural integrity of the home, and ensures that radiant heat cannot ignite dry debris or warp modern composite decking materials.
“A retaining wall doesn’t fail because of the stone; it fails because of the water trapped behind it.” – Hardscape Engineering Axiom
How far should a fire pit be from a house?
While local municipal codes vary, a distance of 20 feet is the safest baseline for permanent wood-burning installations to avoid ember drift and smoke infiltration into the residence. This distance allows for a 10-foot ‘hot zone’ and a 10-foot ‘comfort zone’ where furniture and guests can safely congregate without being exposed to excessive carbon monoxide or heat-related discomfort. Always consult your local fire marshal before breaking ground.
Engineering the Foundation: More Than Just a Hole
A fire pit is a concentrated heat source that exerts significant stress on the earth beneath it. You cannot simply stack stones on top of dirt and expect it to remain level. The process begins with a deep excavation, typically 12 to 18 inches, depending on your local frost line. We install a non-woven geotextile fabric to separate the subgrade from our base material. Then comes the 2A modified gravel, which must be installed in two-inch ‘lifts,’ with each layer being compacted using a vibratory plate compactor reaching at least 3,000 PSI. This ensures the base is virtually impenetrable and won’t shift during heavy rains or freeze-thaw cycles. If your contractor isn’t checking the compaction with a penetrometer or at least doing a visual ‘bounce test,’ they are cutting corners.
What is the best base for a fire pit?
The best base for a fire pit is a 6-inch layer of compacted crushed stone topped with fire-rated refractory sand or a steel heat shield. This combination provides the necessary thermal break to prevent heat from reaching the subsoil while allowing for hydrostatic drainage so that water doesn’t pool inside the pit and cause the stone to crack during a freeze.
Material Science: Refractory vs. Decorative
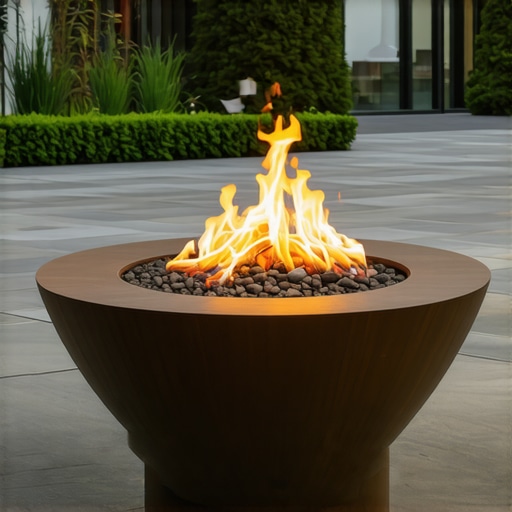
Standard landscaping pavers are not designed to withstand 1,000-degree temperatures. Using them as a fire pit liner is a recipe for ‘spalling,’ where the moisture trapped inside the concrete expands rapidly, causing the stone to explode or crack. For a 2026 build, we use ASTM C27-rated firebricks for the interior lining. These bricks are high in alumina and can handle the thermal shock of a roaring bonfire. We bind them with refractory mortar, which stays stable at temperatures that would melt regular Type N mortar. The exterior can be any decorative stone you like, but the core must be engineered for heat. [image_placeholder_1]
| Material Type | Heat Resistance (F) | Primary Function | Longevity Expectancy |
|---|---|---|---|
| Firebrick (ASTM C27) | 2,000+ | Internal Lining | 30+ Years |
| Natural Fieldstone | 400-600 | Exterior Aesthetic | Indefinite (Non-Structural) |
| Standard Pavers | 200-300 | Peripheral Patio | 10-15 Years |
| Refractory Mortar | 2,500+ | Joint Bonding | 25+ Years |
Integrating Irrigation and Sod: Protecting the Periphery
One of the most common mistakes I see in landscaping is the failure to reroute irrigation lines before building a fire pit. Heat radiates downward and outward. If you have PVC lines for your sprinkler system running three inches beneath your fire pit, they will melt. Period. Part of a professional yard cleanup and preparation involves 1-811 utility marking and a thorough mapping of all sub-surface lines. We typically reroute any irrigation lines at least five feet away from the pit’s outer edge. Once the masonry is complete, a professional sod install is usually required to repair the damage caused by heavy machinery. We use a high-quality turf variety that matches your existing lawn, ensuring the soil pH is balanced at 6.5 to 7.0 before the rolls are laid down. This isn’t just about ‘green grass;’ it’s about restoring the biology of the soil that was compacted during construction.
“Thermal conductivity in masonry units is a function of density and moisture content, requiring a dedicated thermal break in fire-feature design.” – Agronomy & Engineering Manual 4.2
The 2026 Safety and Installation Checklist
- Check Local Ordinances: Before digging, confirm your HOA and city permit requirements for permanent fire features.
- Utility Marking: Call 811 to mark gas, water, and electrical lines. Never guess where they are.
- Base Compaction: Ensure a minimum of 6 inches of compacted gravel base with geotextile separation.
- Thermal Liner: Use a steel ring or ASTM firebrick for the interior to prevent stone failure.
- Clearance: Maintain a 15-foot overhead clearance from trees and a 20-foot horizontal clearance from structures.
- Drainage: Incorporate a weep hole or a gravel sump at the bottom of the pit to prevent water accumulation.
- Post-Build Sod: Perform a targeted sod install with 1 inch of topsoil to repair the construction ‘footprint.’
The Long-Term Maintenance Schedule
A fire pit isn’t a ‘set it and forget it’ feature. In year one, you need to watch for any settling in the surrounding pavers. If you see a dip, your base wasn’t compacted correctly. Every spring, perform a yard cleanup that includes removing old ash, which can turn into a caustic lye-like paste when mixed with rainwater. This paste can eat through the mortar joints over time. Check the irrigation heads near the pit to ensure they aren’t spraying directly into the hot stone, which can cause thermal shock. A well-built pit will last decades, but it requires a foreman’s eye to catch the small issues before they become structural failures. Don’t let a hack contractor turn your backyard into a safety hazard.