
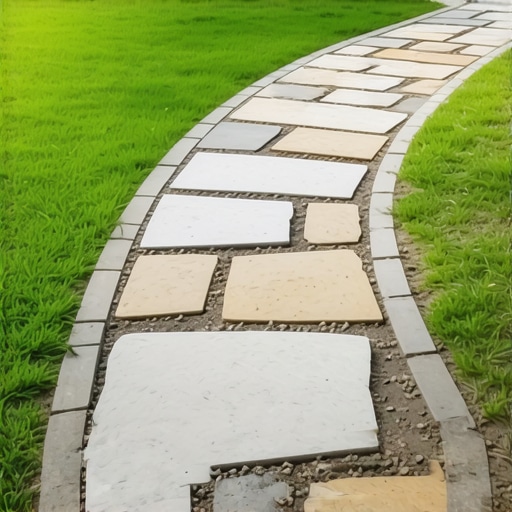
Building a stone path that remains stable for thirty years is not an aesthetic challenge; it is a civil engineering project on a micro-scale. Most homeowners and ‘mow-and-blow’ outfits treat edging as a decorative border, a mere afterthought to be tapped into the dirt with a rubber mallet. This is a fundamental mistake. A stone path without a properly engineered edge is just a collection of future trip hazards waiting for the first heavy frost or a saturated spring to migrate out of position. To build for the long haul, you must understand the interplay between soil mechanics, hydrostatic pressure, and lateral resistance.
The Foundation of Permanent Edging
Successful stone path edging depends on subgrade preparation, base compaction, and lateral restraint. By excavating to a depth of at least 8 inches and using a modified gravel base, you create a stable platform that resists frost heave and shifting. I recently got called out to tear up a $30,000 patio that was sinking because the previous contractor used clean stone instead of a modified aggregate. The lack of ‘fines’ meant there was nothing to lock the larger stones together. Within two winters, the entire project had migrated two inches toward the low point of the yard. We had to excavate the entire mess, haul away fifteen tons of useless rock, and start from the dirt up. If you do not fix the soil grading and base first, every stone you put in the ground is just expensive compost. Don’t skip the compaction. It will fail.
“A retaining wall doesn’t fail because of the stone; it fails because of the water trapped behind it.” – Hardscape Engineering Axiom
How much modified gravel do I need for a patio base?
Determining the volume of modified gravel or Dense Graded Aggregate (DGA) requires calculating the square footage of your path and multiplying it by the desired depth, typically 4 to 6 inches for a walking path. You must account for a 20 percent compaction factor. If you need 10 cubic yards of loose gravel, order 12 to ensure you reach the required Proctor density. Use a plate compactor. A hand tamper is a toy for small repairs. For a professional install, you want the gravel compacted in 2 inch ‘lifts’ until the machine literally bounces off the surface. This creates a monolithic slab of stone that distributes weight across the subgrade.
Selecting the Right Edging Material
Selecting the right edging material, whether it is natural stone, heavy-gauge steel, or poured concrete, is critical for long-term durability. Each material must be installed with enough mass and depth to counteract the outward pressure of the walking surface. I prefer 3/16 inch thick steel edging for modern paths or 4 inch deep Belgian blocks for traditional looks. Avoid the plastic ‘L’ shaped edging found at big-box stores. It is thin, it photogrades under UV light, and the plastic spikes will heave out of the ground the moment the temperature drops below freezing.
| Material | Durability | Lateral Strength | Installation Difficulty |
|---|---|---|---|
| 1/4-inch Steel | 50+ Years | High | Moderate |
| Belgian Block | 100+ Years | Extreme | High |
| Treated Timber | 10-15 Years | Moderate | Low |
| Plastic Strip | 2-5 Years | Low | Low |
The Physics of Lateral Restraint
A stone path acts like a fluid over a long enough timeline. Foot traffic and gravity push the stones outward. Without a rigid edge, the joints between your stones will open up, allowing weeds to take root and water to infiltrate the base. This is where yard cleanup becomes a structural issue. If you allow organic debris to build up at the edge of your path, it turns into a sponge that holds moisture against your base. This moisture facilitates the freeze-thaw cycle that heaves your stones. You need to maintain a clear ‘V’ trench or a mechanical restraint.
“The primary cause of pavement failure is the lack of edge restraint, which allows for the lateral migration of the bedding sand and pavers.” – Interlocking Concrete Pavement Institute (ICPI)
Will irrigation runoff ruin my stone path edging?
Excessive irrigation is a silent killer of hardscapes. If your sprinkler heads are spraying directly onto the edge of your stone path, you are effectively pressure washing the fines out of your polymeric sand and saturating the subgrade. This leads to hydrostatic pressure build-up. We often see paths where the side closest to the lawn has settled by an inch because the irrigation system was misaligned. Ensure your irrigation heads are adjusted to spray away from the path or use drip lines for adjacent plantings to keep the base dry and stable.
Step-by-Step Installation for Decades of Use
The process begins with a yard cleanup to identify the true grade. You must call 811 before you dig. Stripping away the sod install from the previous year might be painful, but you cannot build on top of organic matter.
- Excavate the path area to a depth of 8 to 10 inches.
- Install a non-woven geotextile fabric to separate the subgrade soil from your gravel base.
- Add 4 inches of 21A or CR-6 modified gravel. Wet it down and compact it until it is rock hard.
- Set your edging. If using steel, use 12-inch stakes every 3 feet. If using stone, set them in a 2-inch bed of concrete (mortar).
- Lay your path stones on a 1-inch bed of coarse sand.
- Fill the joints with polymeric sand and vibrate it into the joints to ensure no voids remain.
This method ensures the path stays put. It ignores the ‘easy’ way in favor of the ‘right’ way. Most contractors won’t do this because it takes time. They want to get in and out. They want the sod install done and the check cashed before the first rain. I don’t operate that way. I build for the guy who is going to own the house in 2050.