
Understanding the Suffocation: Why Your Lawn is Spongy and Dying
Removing 2026 deep thatch without power equipment requires using a heavy-duty thatch rake or convex rake to manually tear through the accumulated layer of lignin-rich organic matter. This process restores gas exchange and water infiltration to the soil, preventing root rot and hydrophobic soil conditions common in neglected turf.
You walk across your yard and it feels like you are stepping on a wet mattress. That is not a sign of a healthy lawn; it is a sign of a ecosystem in a death spiral. I call this the spongy lawn syndrome. When thatch—the layer of dead stems, roots, and organic debris between the green vegetation and the soil surface—exceeds 1/2 inch, you have a structural problem. It acts as a barrier, preventing irrigation from reaching the roots and trapping carbon dioxide in the soil profile. It is a breeding ground for Rhizoctonia solani and other fungal pathogens that thrive in anaerobic environments. If you do not fix this, your grass will literally suffocate in its own waste.
The Chemical Nightmare: A Case Study in Over-Fertilization
I remember a homeowner in 2022 who called me in a panic after they completely torched their front lawn. They had been dumping high-nitrogen ‘big-box’ fertilizer every three weeks, trying to force a dark green color. Instead of a healthy lawn, they created a 3-inch thick mat of thatch that the local microbes couldn’t keep up with. The nitrogen fueled top-growth so fast that the plant’s lignin production went into overdrive. When a dry spell hit, the thatch became hydrophobic—it literally repelled water. They were watering daily, but the soil underneath was bone dry. The grass died of thirst while sitting in a puddle. We had to strip the entire site because the soil biology was effectively dead.
“Thatch is a layer of living and dead plant parts that develops between the green vegetation and the soil surface. Excessive thatch (greater than 1/2 inch) creates a environment ripe for disease and reduces the effectiveness of irrigation.” – Penn State Center for Turfgrass Science
The Science of Manual Thatch Decomposition
Manual thatch removal involves the mechanical disruption of the thatch-mat layer using specialized hand tools to pull up dead stolons and rhizomes. This physical extraction allows for increased oxygenation of the root zone and stimulates the nitrification cycle by reintroducing aerobic conditions to the soil surface.
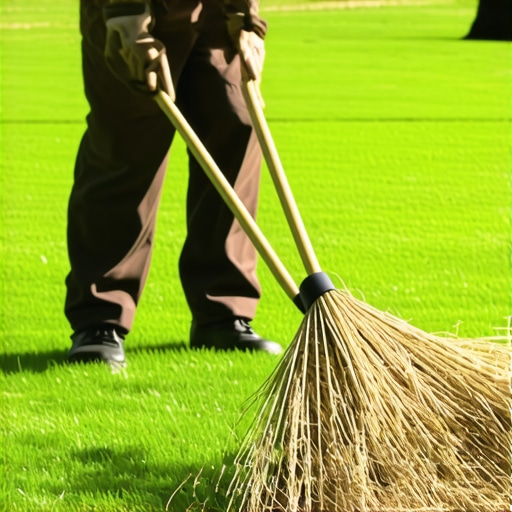
Thatch is not just grass clippings. Grass clippings are mostly water and break down quickly. True thatch is composed of high-lignin tissues—stems, nodes, and crowns—that resist microbial decay. When you don’t have the luxury of a power rake or a vertical mower, you are the engine. You need to understand the physics of the rake. A standard leaf rake is useless here. You need a specialized thatch rake with crescent-shaped blades designed to slice through the mat and pull it upward. It is grueling work. Your forearms will burn. Your back will ache. But unlike a power rake, which can be overly aggressive and rip out healthy tillers, manual raking allows for surgical precision.
The Mechanical Requirements for Success
Before you touch a tool, you must check the soil moisture. If the ground is baked hard, the rake won’t penetrate. If it is soaking wet, you will pull up the entire root system, leaving bare dirt. Aim for ‘field capacity’—moist but not muddy. This allows the blades to slice through the organic layer while the roots remain anchored in the soil. You are looking for that sweet spot where the thatch gives way but the crown of the plant stays put. Don’t skip the prep work. Scalp the lawn slightly lower than usual—around 1.5 inches for cool-season grasses—to expose the thatch layer before you start the extraction.
| Tool Type | Best Use Case | Extraction Depth | Effort Level |
|---|---|---|---|
| Thatch Rake (Adjustable) | Deep thatch (1 inch+) | Up to 1.5 inches | Extreme |
| Convex Rake | Light maintenance | 0.5 inches | Moderate |
| Manual Core Aerator | Compaction relief | 3 inches (vertical) | High |
How much physical effort is required for manual dethatching?
Expect to spend approximately two to four hours per 500 square feet of turf. This is a high-intensity cardiovascular activity that requires significant upper-body strength. For deep thatch, you will likely need to perform two passes at 90-degree angles to ensure the mat is fully broken up.
The Step-by-Step Manual Extraction Process
The manual dethatching process begins with low-height mowing, followed by multi-directional raking with a specialized tool to lift the organic mat. Once the debris is removed via composting or bagging, the lawn must be treated with core aeration and a high-phosphorus starter fertilizer to encourage immediate root recovery.
- Mow the grass to roughly 50% of its normal height.
- Identify the grain of the grass and rake in the opposite direction.
- Use short, pulling strokes; do not ‘sweep’ like you are moving leaves.
- Clear the pulled-up debris every 10 square feet to maintain visibility.
- Evaluate the ‘squish’ factor—if it still feels spongy, a second pass is mandatory.
- Apply a light dusting of compost or top-dressing to reintroduce beneficial microbes.
“A retaining wall doesn’t fail because of the stone; it fails because of the water trapped behind it. Similarly, a lawn doesn’t fail because of the grass; it fails because of the thatch blocking the water.” – Hardscape and Drainage Engineering Axiom
Can I use a liquid dethatcher instead of raking?
Liquid dethatchers are largely marketing fluff for deep thatch. While they contain enzymes and microbes that can accelerate the breakdown of very thin layers of organic matter, they cannot penetrate a 2-inch thick, hydrophobic mat. For a 2026-level deep thatch problem, mechanical removal is the only viable solution. There is no ‘chemical’ shortcut for hard labor when the soil is suffocating.
Post-Extraction Recovery and Maintenance
After manual removal, your lawn will look like a disaster zone. Do not panic. This is the ‘open wound’ phase of landscaping. You have just removed the insulation that was protecting the soil, which means the root zone is now exposed to the air. This is the perfect time to overseed. Use a high-quality seed blend that matches your USDA hardiness zone. Avoid the cheap ‘all-purpose’ bags at the big-box stores; they are filled with weed seeds and annual rye that will die off in the first frost. Focus on turf-type tall fescue or Kentucky bluegrass depending on your sun exposure.
Watering is the next critical pillar. You must keep the top inch of soil consistently moist for 14 to 21 days while the new seed germinates and the existing grass recovers from the trauma. This isn’t about deep watering yet. It is about frequent, light mists. If the soil dries out now, you’ve wasted the effort. Once the green shoots hit two inches, transition back to deep, infrequent watering. You want to force those roots to dive deep into the soil to find moisture. This builds drought resistance and prevents the rapid thatch buildup of the past. It will rot if you over-water now. Be disciplined.