
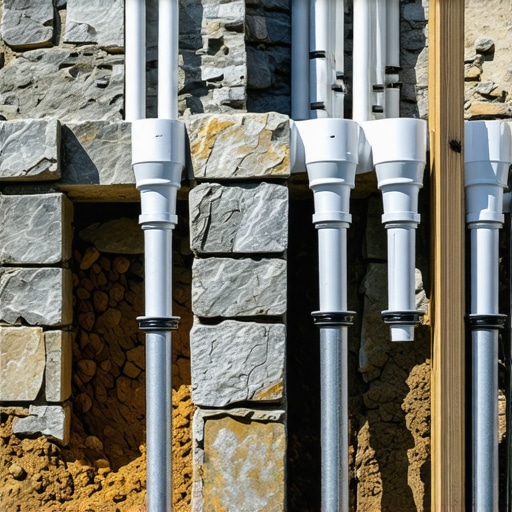
The Hardscape Autopsy: Why Gravity Always Wins Against Bad Engineering
I recently got called out to tear up a $30,000 project where the retaining wall looked like it was trying to take a nap in the homeowner’s driveway. The previous contractor had stacked beautiful, expensive natural stone but treated the engineering like a backyard LEGO set. Within three seasons, the wall had a four-inch lean. When we excavated, we found the culprit: zero drainage and a base made of local dirt instead of compacted aggregate. This is the reality of hardscaping. If you don’t respect the physics of soil and water, your wall will fail. Period. It is not a matter of if, but when. We spent two weeks doing a forensic teardown just to get back to a stable subgrade. It was a mess that could have been avoided with three inches of perforated pipe and a few tons of clean stone.
Why is my retaining wall leaning?
A leaning retaining wall is typically the result of hydrostatic pressure buildup, insufficient drainage, or improper base compaction. When water cannot escape from behind the wall, it saturates the soil, increasing the lateral earth pressure beyond the structural capacity of the blocks or stones, causing them to tilt or buckle.
Hydrostatic Pressure: The Invisible Force
Water is heavy. Really heavy. A single cubic foot of saturated soil can weigh over 120 pounds. When your yard doesn’t have an integrated irrigation strategy or proper yard cleanup of debris that clogs drainage outlets, that water sits behind your wall. This is called hydrostatic pressure. It acts like a hydraulic ram, slowly pushing the wall forward. Most DIYers and low-bid contractors think the wall’s job is to hold back dirt. It isn’t. The wall’s job is to resist the weight of water-saturated soil. If you don’t give that water a path of least resistance—usually via a French drain or weep holes—it will create its own path right through your masonry.
“A retaining wall doesn’t fail because of the stone; it fails because of the water trapped behind it.” – Hardscape Engineering Axiom
The Sin of Poor Compaction
If your base isn’t solid, your wall is built on a lie. I see guys throw down some sand, give it a quick stomp, and start laying block. That is amateur hour. You need a modified gravel base (usually 2A or 3/4-inch minus) compacted in three-inch lifts with a plate compactor. We use a vibro-tamper that should literally bounce off the ground once we hit the required PSI. If the base isn’t compacted to 95% of its maximum density, the weight of the wall and the soil behind it will cause differential settlement. One side sinks, the other tilts, and suddenly your straight line is a zig-zag. This is why landscaping requires more math than most people realize.
How much modified gravel do I need for a patio base?
To calculate the modified gravel needed for a stable base, you must multiply the square footage of the area by the depth of the base (typically 6 inches for walkways or 10-12 inches for walls), then divide by 27 to get cubic yards. Always add a 10% compaction factor to your total to ensure you don’t run short during the installation process.
| Material Type | Drainage Rating | Compaction Stability | Best Use Case |
|---|---|---|---|
| 3/4″ Clean Stone | Excellent | High | Backfill drainage stone |
| 2A Modified Gravel | Moderate | Superior | Base layer foundation |
| Masonry Sand | Poor | Low | Leveling layer only (< 1") |
| Native Clay Soil | Zero | Unstable | Filling deep holes only |
The Role of Soil Type and Clay Expansion
In regions with heavy clay, the problem is doubled. Clay is expansive. It holds onto water molecules and grows in volume. When it freezes, it undergoes a freeze-thaw cycle that acts like a slow-motion jackhammer against the back of your wall. If you didn’t over-excavate and backfill with at least 12 inches of clean, angular stone, that clay is going to win. This is why we often recommend a sod install after the wall is fixed to stabilize the surface soil and prevent erosion from dumping more silt into your drainage system.
Can I save a leaning retaining wall without tearing it down?
Saving a leaning wall without a full teardown is only possible if the structural integrity of the units is intact and the lean is less than 5 degrees. Techniques include soil nailing, installing helical anchors, or excavating behind the wall to relieve hydrostatic pressure and replacing backfill with lightweight aggregate.
The Step-by-Step Remediation Process
If your wall is leaning, you have to act before it collapses. A collapsed wall is five times more expensive to fix because you’re dealing with a landslide, not just a masonry project. First, we excavate the “failure zone”—the area directly behind the wall. We remove the heavy, wet soil and look for the drainage pipe. Nine times out of ten, there isn’t one, or it’s a cheap corrugated pipe that’s been crushed. We replace it with SDR-35 perforated pipe, wrapped in a non-woven geotextile fabric (the “burrito wrap” method). This prevents silt from clogging the pipe while allowing water to flow freely. Next, we check the batter. A wall should never be perfectly vertical; it needs a slight setback (usually 1 inch for every 1 foot of height) to lean into the hill. This uses gravity as an ally rather than an enemy.
- Step 1: Excavate the backfill to the base of the wall.
- Step 2: Inspect the foundation for cracking or shifting.
- Step 3: Install 4-inch perforated drainage pipe at the lowest point.
- Step 4: Backfill with 12-24 inches of clean 3/4-inch angular stone.
- Step 5: Use geogrid reinforcement if the wall is over 3 feet tall.
- Step 6: Cap the wall with a professional-grade adhesive to prevent water entry from the top.
“Soil reinforcement through geogrids transforms a gravity wall into a reinforced soil mass, significantly increasing the factor of safety against sliding and overturning.” – ICPI Technical Manual
The Maintenance Schedule for Longevity
Once your wall is stabilized, you can’t just walk away. Yard cleanup is essential. Keep the area above the wall clear of heavy debris and ensure your irrigation heads aren’t spraying directly into the backfill zone. Check the weep holes every spring. If you see water trickling out after a rain, the system is working. If they are dry and the wall is damp, you have a clog. It will rot if you leave it. Don’t skip the inspection. A well-built wall should last 50 years, but only if the drainage stays clear. Every year, I see homeowners lose their investment because they let a $20 drainage grate get covered in mulch. Don’t be that guy. Fix the water, and you fix the wall. “