
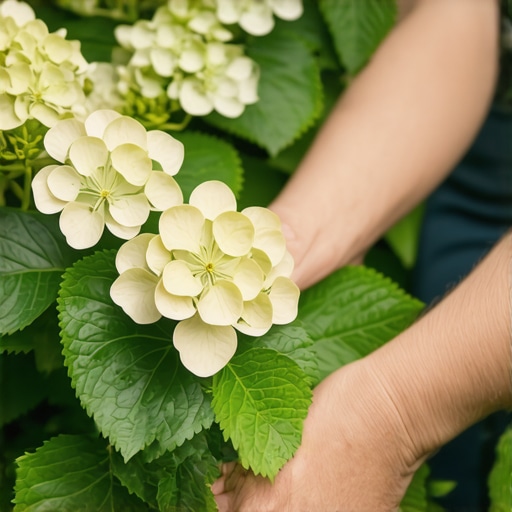
The Hard Truth About Hydrangeas: Why Your Yard Cleanup is Killing Your Blooms
I always drill into my new crew members: if you don’t fix the soil grading first, every plant you put in the ground is just expensive compost. I tell them this because I’ve seen too many rookies approach a hydrangea with a pair of gas-powered hedge trimmers during a routine yard cleanup and effectively lobotomize the plant for the next two seasons. They treat it like a boxwood. It is not a boxwood. It is a biological machine with a very specific internal clock. If you cut the wrong branch at the wrong time, you aren’t just ‘cleaning up’; you are removing the next six months of the plant’s reproductive potential. Horticulture is an engineering discipline where the blueprints are written in DNA and the construction materials are nitrogen, phosphorus, and potassium. You have to respect the architecture of the stem.
When to Trim Hydrangeas for Maximum Spring Blooms
To maximize spring blooms, you must identify if your hydrangea species flowers on old wood or new wood to determine the pruning window. Most Macrophylla and Quercifolia species require pruning immediately after summer flowers fade, while Paniculata and Arborescens should be trimmed in late winter or early spring.
“Proper timing of pruning is determined by the plant’s growth habit and when it initiates flower buds. Pruning at the wrong time of year can result in the removal of flower buds and a lack of blooms for the season.” – Penn State Extension
How do I know if my hydrangea blooms on old wood?
If your hydrangea is a Bigleaf (Hydrangea macrophylla) or Oakleaf (Hydrangea quercifolia) variety, it sets its flower buds for next year in the late summer and fall. These buds over-winter on the existing stems. This is what we call old wood. If you take your bypass pruners to these plants in March, you are cutting off the very flowers you are waiting for. I see this mistake constantly during spring landscaping projects where homeowners want a ‘fresh start.’ They scalp the plant to the ground and then wonder why they only have green leaves in July. To avoid this, only prune these varieties when the current year’s flowers begin to brown. Cut just above the first or second pair of healthy, fat buds below the flower head. This directs the plant’s auxins—the hormones responsible for growth—into those specific nodes. It’s about managing apical dominance. You want the plant to stop vertical climbing and start lateral branching.
Why soil biology and irrigation matter more than the cut
You can have the most precise pruning technique in the world, but if your irrigation system is faulty or your soil pH is off, the plant will fail. Hydrangeas are heavy feeders with a high transpiration rate. Their name literally translates to ‘water vessel.’ If you are doing a new sod install nearby, you must ensure the grading doesn’t divert water away from the hydrangea’s root flare. I’ve seen $50,000 landscaping jobs ruined because the contractor didn’t account for the hydrostatic pressure and drainage patterns. The soil needs to be a rich, acidic loam with a pH between 5.2 and 6.0 for blue blooms, or slightly more alkaline for pink. If the soil is compacted, the roots can’t breathe. Oxygen is as vital as water in the root zone. I recommend a deep core aeration around the drip line of established shrubs if the soil feels like concrete under your boots. Don’t skip this.
| Hydrangea Species | Bloom Wood Type | Primary Pruning Window | Hardiness Zone Focus |
|---|---|---|---|
| Bigleaf (Macrophylla) | Old Wood | Summer (post-bloom) | Zones 5-9 |
| Oakleaf (Quercifolia) | Old Wood | Summer (post-bloom) | Zones 5-9 |
| Panicle (Paniculata) | New Wood | Late Winter/Early Spring | Zones 3-8 |
| Smooth (Arborescens) | New Wood | Late Winter/Early Spring | Zones 3-9 |
The technical physics of the pruning cut
Every cut you make is an open wound. You have to be surgical. I don’t want to see jagged edges or crushed stems. We use bypass pruners, never anvil pruners. Anvil pruners crush the vascular tissue—the xylem and phloem—preventing the plant from transporting nutrients to the wound site for healing. Make your cuts at a 45-degree angle about a quarter-inch above a node. Why 45 degrees? Because water needs to shed off the cut. If water sits on a flat cut, you’re inviting fungal pathogens to move in and rot the stem from the top down. It’s civil engineering on a microscopic scale. You are creating a watershed on the branch.
“A pruning cut should be clean and made just above a node. Leaving a stub can lead to dieback and disease entry points that compromise the structural integrity of the shrub.” – Texas A&M Agrilife Extension
How much modified gravel do I need for a patio base?
While this seems unrelated to pruning, I get asked this during every hydrangea install because we often plant them as borders for hardscapes. For a standard patio base, you need a minimum of 6 inches of compacted modified gravel (2A or 3/4-minus). If you don’t compact it in 2-inch lifts, the ground will settle, the drainage will shift, and your hydrangeas will end up in a swamp. Poor drainage leads to root rot (Phytophthora), which looks exactly like underwatering to the untrained eye. The homeowner sees a wilting plant, adds more water from their irrigation system, and effectively drowns the shrub. Know your drainage before you touch your shears.
The Apprentice Checklist for Hydrangea Success
- Sterilize all cutting tools with 70% isopropyl alcohol to prevent cross-contamination of tobacco mosaic virus.
- Identify the species by leaf texture: smooth and heart-shaped (Smooth), thick and serrated (Bigleaf), or lobed like an oak (Oakleaf).
- Remove the 3 Ds: Dead, Damaged, and Diseased wood before making any aesthetic cuts.
- Check the soil moisture at a 4-inch depth; if it’s dry, the plant is too stressed for heavy pruning.
- Look for the dormant buds. They look like small, green scales tucked into the leaf axils. These are your future flowers.
Common Pitfalls in Professional Landscaping Maintenance
The biggest mistake is the ‘Mulch Volcano.’ I see ‘professionals’ pile 6 inches of dyed mulch right against the base of the hydrangea. This traps moisture against the bark, leading to crown rot and providing a highway for wood-boring insects. You want the root flare to be visible. Mulch should be a 2-to-3-inch layer of organic material like pine bark or leaf mold, kept 3 inches away from the stems. This mimics the forest floor and provides the slow-release carbon the soil microbes need to thrive. If you’re doing a yard cleanup, pull that mulch back. It’s not decoration; it’s a functional layer of the ecosystem. Respect the biology and the blooms will follow. It’s that simple. Don’t overcomplicate it with cheap fertilizers. Use a balanced, slow-release formula in early spring, and let the plant’s internal chemistry do the rest.