
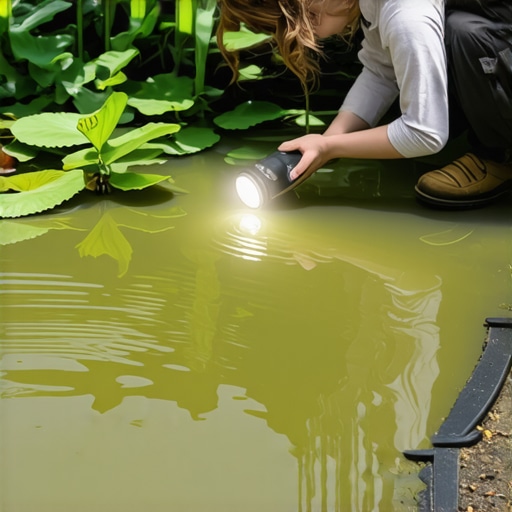
The Visual Autopsy: When Your Pond Loses Life and Level
To identify a leak in your pond liner using milk, you must first isolate the structural breach by performing a draw-down test to see where the water level stabilizes before using a syringe of milk to track the flow of water through the hole. This method utilizes fluid dynamics to reveal invisible punctures in EPDM or PVC membranes.
I recently got called out to tear up a $30,000 patio and pond combo that was sinking because the previous contractor failed to account for hydrostatic pressure. The water feature was losing six inches of depth every 48 hours. The homeowner was frantic, dumping hundreds of dollars of municipal water into a bottomless pit. Upon inspection, it was clear the base layer of the pond was never compacted. The soil shifted, the liner stretched beyond its 300 percent elasticity limit, and a micro-tear formed near the skimmer faceplate. This wasn’t a gardening error; it was a civil engineering failure. If you don’t understand soil grading and compaction, every pond you build is just an expensive drain for the neighborhood water table.
“A retaining wall doesn’t fail because of the stone; it fails because of the water trapped behind it.” – Hardscape Engineering Axiom
Step 1: The Isolation Protocol
Before you reach for the milk, you have to be sure you actually have a leak. Too many amateurs mistake evaporation for a structural failure. In high-heat, low-humidity environments, a pond can lose up to an inch of water a day just from the sun and wind. Turn off your pump. If the water level continues to drop while the pump is off, the leak is in the basin liner. If it stops, the leak is in the plumbing, the waterfall weir, or the irrigation-adjacent spillway. This is basic process of elimination. Don’t skip it. It will save you hours of unnecessary work.
| Condition | Typical Water Loss | Action Required |
|---|---|---|
| Normal Evaporation | 0.25 to 0.5 inches per day | Monitor only |
| High Heat/Wind Evaporation | 0.5 to 1.25 inches per day | Check humidity levels |
| Structural Leak (Basin) | 2+ inches per day (pump off) | Perform Milk Test |
| Plumbing/Waterfall Leak | Variable (only when pump on) | Check pipe fittings |
The Milk Test Methodology: Using Physics to Trace the Flow
To find the exact location of a pond leak with milk, wait for a dead-still day and use a plastic syringe to inject small clouds of whole milk or heavy cream near the edges of the water line where you suspect the breach. The heavier fat content in the milk makes it visible as the suction of the leak pulls the white cloud toward the hole.
You need to be patient. Water moves in subtle currents. If you are rushing around the pond edge, you’ll create enough wake to mask the leak’s pull. Start at the level where the water stopped dropping. That is your baseline. Fill a syringe with whole milk. Don’t use skim; it disappears too fast. Lean over the edge and inject a small puff of milk about two inches away from the liner wall. If the milk stays still or dissipates slowly in place, there is no leak there. If the milk suddenly stretches into a thin white line and gets sucked toward a specific point on the liner, you found your hole. It’s physics, not magic.
How much modified gravel do I need for a pond edge?
To stabilize a pond edge and prevent liner slippage, you need a 4-inch deep base of 21A or 411 modified gravel extending at least 12 inches back from the water’s edge to provide a compacted, non-shifting foundation for your coping stones. Without this, your liner will eventually sag and pull away from the shelf.
Beyond the Liner: Checking Skimmers and Waterfalls
Often, the leak isn’t a hole in the middle of the floor; it’s a failure of the mechanical seals. I have seen hundreds of hacks install skimmer boxes without a proper bead of M-1 structural sealant or fish-safe silicone. Over time, the soil behind the skimmer settles, the box pulls away from the liner, and water starts escaping through the screw holes. The milk test works here too. Squirt the milk around the faceplate of the skimmer. If it disappears behind the frame, you’ve found the culprit.
“Proper pond construction requires a minimum of 45-mil EPDM liner to withstand the hydrostatic pressure of the surrounding soil and the weight of the water column.” – Agronomy Infrastructure Standard
Also, check for capillary action. This is the most common “fake” leak. If a piece of geotextile underlayment or even a stray piece of sod or mulch is touching the water and hanging over the edge, it will act like a wick. It will pull water out of the pond and into the surrounding soil at an alarming rate. It’s not a hole; it’s just poor yard cleanup and maintenance. Trim back the liner edges and ensure no porous material is bridging the gap between the pond and the flower bed.
What is the most durable liner material for a backyard pond?
The industry standard for durability is 45-mil EPDM rubber, which offers superior UV resistance and elongation properties compared to cheaper PVC or HDPE liners that can become brittle and crack during freeze-thaw cycles. Avoid anything less than 45-mil if you want the feature to last more than three seasons.
Remediation: Fixing the Breach Without Rebuilding
Once you locate the hole using the milk method, you must clean the area thoroughly. You cannot patch a dirty liner. Use a scrub pad and clear water to remove the biofilm and algae. If you don’t get down to the raw rubber, the EPDM primer and patch will not bond. It will fail. Every time.
- Dry the area: Use a heat gun or hair dryer to ensure no moisture is trapped under the patch.
- Apply Primer: Use a quick-scrub primer specifically designed for EPDM. It chemically etches the surface.
- Patch Size: Your patch should extend at least 2 inches beyond the hole in every direction.
- Pressure: Use a silicone seam roller to apply heavy pressure. This activates the adhesive.
- Wait: Let the patch cure for at least 4 hours before refilling the water.
Landscaping is about more than just a sod install and some pretty flowers. It’s about managing the movement of water on a property. If you treat your pond like a science project instead of a decoration, you’ll have a feature that lasts for decades instead of one that turns into a muddy hole in the ground. Don’t be the homeowner who calls me to fix a sinking patio because you didn’t check your drainage first. Do it right the first time. Compact your base. Use 45-mil rubber. Watch the milk.