
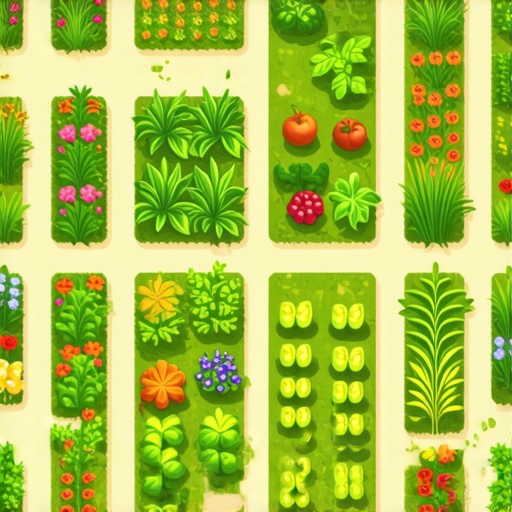
The Strategic Engineering of Garden Zoning: A Professional Guide to Plant Placement and Irrigation
I always drill into my new crew members: if you don’t fix the soil grading first, every plant you put in the ground is just expensive compost. Most homeowners think they can just dig a hole, drop a root ball in, and walk away. That is a recipe for anaerobic root rot and financial waste. I have seen thousands of dollars in nursery stock die within six months because a contractor did not understand how water moves through various soil textures or how the sun-angle shifts the moisture requirements of different species. Professional landscaping is about managing biology through engineering. If you fail to respect the physics of the site, the site will fail you. Period.
The Science of Hydrozoning for Irrigation Efficiency
Effective hydrozoning involves grouping plants with similar evapotranspiration rates into specific irrigation zones to optimize water delivery and soil moisture. By separating turfgrass from woody ornamentals, you prevent over-saturation of root systems and significantly reduce the risk of fungal pathogens and nutrient leaching. This process requires a precise calculation of the gallons per minute (GPM) your system can handle and the specific moisture needs of each plant species within that circuit.
“A successful irrigation system must account for the Soil Intake Rate (SIR) to prevent runoff and ensure deep root penetration.” – Texas A&M Agrilife Extension
When we talk about garden zoning, we are looking at more than just where the flowers look nice. We are looking at the rhizosphere. We are looking at how the soil structure, whether it is heavy clay or sandy loam, dictates the rate at which water is absorbed. In a professional landscaping setup, we divide the yard into high, medium, and low water use areas. Turf usually sits in the high-use zone, requiring consistent moisture to maintain turgidity. Perennials might sit in the medium zone, while established native trees often reside in the low-use zone. Mixing these up is the fastest way to kill your investment. It is not about how much water you use; it is about where that water goes. You must understand the capillary action of your soil. Clay holds water like a sponge, leading to potential drowning if you over-water. Sand lets it slip through like a sieve. You must calibrate your irrigation timers to match these realities.
How to Determine the Best Zone for Your Specific Plants?
To determine the best zone, you must conduct a site analysis that evaluates solar orientation, topography, and soil drainage capacity across the entire property. Identifying the microclimates created by buildings, fences, and existing canopy allows you to match plant hardiness with the actual environmental stressors present on the ground.
We use a systematic approach to map these zones. First, we look at the light. A south-facing wall creates a heat island. This is where your drought-tolerant, sun-loving species must go. If you put a shade-loving Hosta there, the leaves will scorch and the plant will eventually succumb to stress. Conversely, the north side of a house stays damp and cool. This is where you put plants that thrive in high humidity and low light. Here is a breakdown of how we categorize these zones for a standard sod install and planting project:
| Zone Type | Water Frequency | Sun Exposure | Soil Requirement |
|---|---|---|---|
| High-Intensity (Turf) | Daily/Bi-weekly | Full Sun | Rich Loam, High Nitrogen |
| Medium (Perennials) | 2-3 Times Weekly | Partial Shade | Well-Draining, Organic Matter |
| Low (Xeriscaping) | As Needed (Drought) | Full Sun | Mineral-Heavy, Sandy |
| Shade Zone | Weekly (Low Evap) | Full Shade | Moist, High Humus |
After light, we look at grading. This is the part most ‘mow-and-blow’ guys ignore. You need a minimum 2% slope away from your foundation to prevent hydrostatic pressure from ruining your basement or crawlspace. During a yard cleanup, I check for areas where water pools. Those ‘dead spots’ in your lawn are often just drainage failures. We fix those by amending the soil with expanded shale or installing French drains before we even think about laying sod.
Technical Requirements for a Successful Sod Install
A successful sod install requires a perfectly graded, compacted base free of debris and a nutrient-rich topsoil layer that facilitates immediate root-to-soil contact. Professional installers use a weighted roller to eliminate air pockets, which are the primary cause of sod failure and localized desiccation in newly laid turfgrass.
- Call 811 to mark all underground utility lines before any excavation.
- Remove all existing vegetation and debris during the initial yard cleanup phase.
- Test soil pH and adjust with lime or sulfur to reach a target of 6.5 to 7.0.
- Apply a high-phosphorus starter fertilizer to encourage rapid root development.
- Stagger sod pieces in a brickwork pattern to minimize visible seams and prevent erosion.
- Roll the entire area with a water-filled roller to ensure total soil contact.
- Irrigate immediately after installation to a depth of 6 inches.
Do not skip the rolling phase. If there is air between the sod and the dirt, the roots will dry out and die before they ever get a chance to take hold. I have seen entire lawns turn brown in forty-eight hours because the contractor was too lazy to use a roller. It is a simple tool, but it makes the difference between a lawn that survives and one that rots.
“Planting depth is critical; the root flare should always be visible above the soil line to ensure gas exchange and prevent trunk decay.” – Cornell University Horticulture
The Physics of Soil Drainage and Root Health
Root systems are not just straws for water; they are gas exchange organs. If your soil is waterlogged because you zoned your garden poorly, the roots cannot breathe. This leads to the production of ethanol and other toxins within the plant tissue. This is why we focus so heavily on soil structure during landscaping. We want macropores for air and micropores for water. In heavy clay, you have too many micropores. This is where we see the most plant death. During a yard cleanup, we often find that the soil has become so compacted that even the weeds struggle to grow. We use core aeration to pull plugs out of the earth, allowing oxygen to reach the root zone. It is basic physics. If the soil is too tight, nothing lives. You must manage the bulk density of your earth if you want a garden that lasts more than one season.
What is the most common mistake in garden zoning?
The most common mistake is over-planting without considering the mature size of the species, leading to resource competition and poor airflow. When plants are crowded, they compete for the same nitrogen and water, increasing the humidity within the canopy and inviting powdery mildew and other fungal infections.
How do I calculate irrigation run times for different zones?
To calculate run times, you must perform a catch-can test to determine the precipitation rate of your sprinkler heads and compare it against the evapotranspiration (ET) rate of your local climate. This ensures you apply the exact amount of water needed to replenish soil moisture without causing runoff or deep percolation past the root zone.
Once your zones are established and your plants are in the ground, the first year is the most critical. This is the settling-in period. You will need to monitor the moisture levels daily. Use a soil probe. Don’t just look at the surface. The surface can be bone dry while the root ball is sitting in a swamp. You have to get your hands dirty. Check the depth. If the soil is moist three inches down, leave it alone. Over-watering is just as lethal as a drought. It is a balance of chemistry, physics, and patience. Do it right the first time, and you won’t be calling me in two years to tear it all out and start over. Build it from the ground up. Focus on the soil. Respect the water. That is how you build a landscape that lasts.