Don’t Waste Money: 5 Soil Tests for a 2026 Sod Install
Ever spent a Saturday wrestling with a stubborn patch of grass, only to realize that no matter how many fertilizers you sprinkle or how much water you pour, that area just refuses to thrive? I’ve been there—believed I could hack it with guesswork and a bit of trial and error. It’s frustrating, exhausting, and honestly, it can drain your wallet faster than you think.
How I Learned the Hard Way That Soil Matters
A few years back, I decided to finally lay down new sod in my yard for a fresh, green look that would make my neighbors jealous. I skipped the soil testing step, thinking it was an unnecessary hassle. Instead, I just bought the best-quality grass I could find and hoped for the best. Well, months later, patches started turning brown, and no amount of watering seemed to fix the problem. That’s when I realized I had ignored a critical step—a simple soil test—and paid the price.
According to soil scientists, understanding what’s underneath your grass is key to telling it what it needs. Without that knowledge, you might be wasting time, energy, and money trying to fix issues that stem from soil imbalance or deficiencies. Testing your soil early in your planning process ensures that your investment in sod will actually stick and flourish—saving you headaches down the line.
What We’ll Cover Today
In this post, I’m going to walk you through the five soil tests that can dramatically improve your sod’s chances of thriving in 2026. I’ll share my first mistake, debunk some common misconceptions, and help you avoid costly pitfalls. Trust me—taking a little time now to get the soil right will pay off big time when your yard becomes the envy of the neighborhood.
Before we jump into the practical steps, ask yourself: have you ever noticed your new grass wilting or patchy despite your best efforts? If your answer is yes, keep reading. You’re not alone, and the good news is, there are straightforward solutions waiting for you.
}
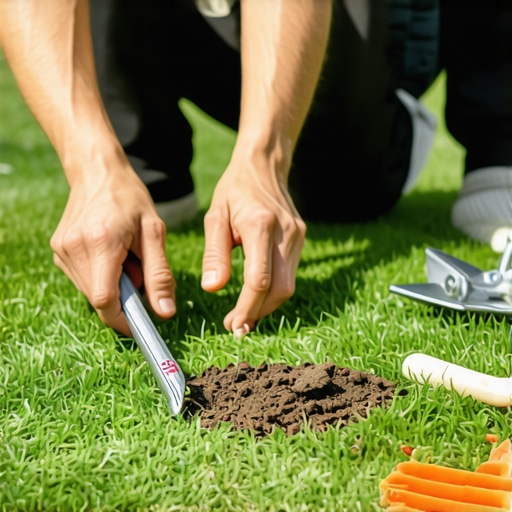
Start with a Soil Test to Set Your Foundation
My first real breakthrough came when I finally decided to do a soil test before planting new sod. I ordered a kit online, dug samples from multiple spots in my yard, and sent them off. When the results came back, I realized my soil was too acidic, which was preventing grass roots from establishing. Armed with that knowledge, I amended the soil with lime and compost—simple steps that transformed my patchy grass into a lush carpet. This process is critical: think of soil testing as diagnosing a health issue before treatment.
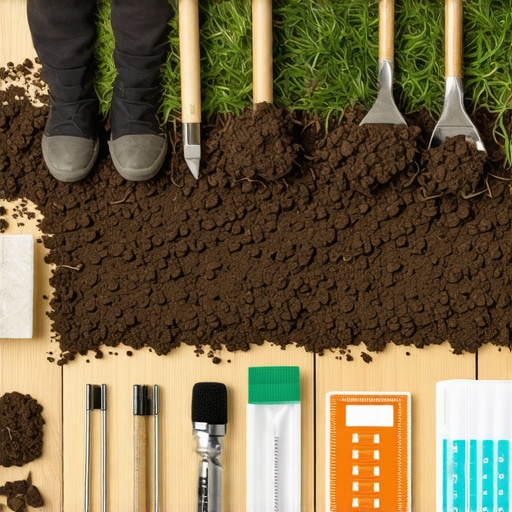
Gather Tools and Prepare Your Samples
Choose the Right Testing Kit
Pick a reliable soil test kit that covers pH, nutrients like nitrogen, phosphorus, and potassium. Some kits are digital, providing instant results, while others require lab analysis. I recommend lab testing for accuracy—visit this resource for a detailed guide on choosing the best kits.
Collect Consistent Samples
Use a clean spade or trowel to extract a slice of soil from several spots across your yard—aim for about 6 inches deep. Think of it like taking a blood sample from multiple veins to get an accurate health snapshot. Combine these minuscule samples into a clean container, mix thoroughly, and take a sub-sample for testing. This method prevents skewed results caused by localized soil variations.
Analyze and Interpret Test Results
Once you get your lab report, focus on the pH level and nutrient deficiencies. For example, if the pH is below 6.0, your soil is too acidic, and you’ll need to add lime—much like adding base to neutralize acid. If nitrogen levels are low, incorporate a nitrogen-rich fertilizer to stimulate healthy growth. Proper interpretation prevents wasteful amendments and targets your efforts effectively. Remember, soil health in the long run depends on maintaining balanced nutrients and pH levels.
Implement Soil Improvements Before Planting
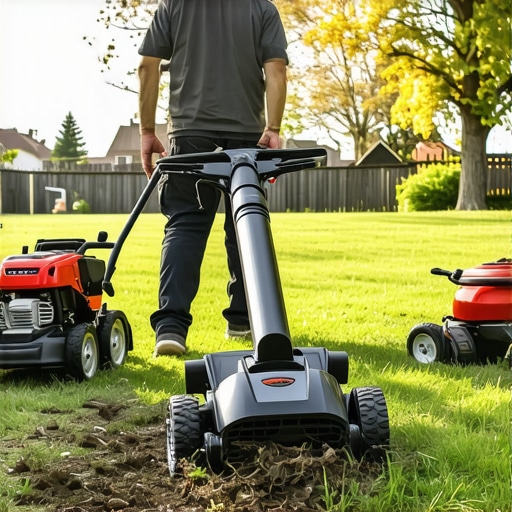
Based on your results, take corrective action. If pH needs adjusting, spread the recommended amount of lime evenly across your yard and water it in thoroughly, mimicking a gentle rain. For nutrient deficiencies, incorporate organic matter like compost or specific fertilizers, which improve soil structure and fertility. Don’t forget, these improvements set the stage for sod that roots deeply and resists diseases. For advanced tips, check out professional sod install strategies to maximize your soil investments.
Re-test to Confirm Improvements
After a few weeks, retest your soil to ensure amendments have achieved desired pH and nutrient levels. This step is crucial: it’s like a follow-up appointment with your doctor to confirm you’re on the right track. Adjust your soil treatments if necessary, and only then proceed with planting or sod installation. This diligent approach minimizes the risk of future patchiness and ensures your grass will thrive in 2026 and beyond.
 Many homeowners believe that following basic lawn care advice ensures a lush, healthy yard, but the truth is, common misconceptions can sabotage your efforts. For example, there’s a widespread myth that more water always equals a greener lawn, but overwatering can drown roots and promote disease, making your efforts counterproductive. As landscaping expert Davey Landscaping explains, understanding the specific water needs of your grass type and soil conditions is crucial to prevent root rot and fungal issues—you can learn more about effective watering strategies here. Another misconception is that all soil is suitable for sod, but ignoring soil testing can lead to patchy growth or failure, as I discussed earlier. The key is to assess your soil’s pH and nutrient profile before planting, which can save both time and money.
Advanced landscapers often overlook the importance of proper grading and drainage, assuming these are minor details, yet poor drainage can cause water pooling and root rot, regardless of how well you irrigate or fertilize. Incorporating a slight slope away from structures ensures excess water redirects naturally, preventing erosion and standing water. For more on preventing drainage problems, visit this article.
Are you aware of the critical role ecosystem diversity plays in yard health? Monoculture lawns are vulnerable to pests and diseases; integrating native plants and varied grasses creates a resilient landscape that can adapt to environmental stresses. Moreover, choosing correct planting times for your region can dramatically reduce maintenance and increase survival rates.
One advanced mistake is neglecting to consider the long-term impacts of your landscaping choices. For instance, installing a highly invasive tree species might provide quick shade but can damage foundations and underground utilities over time. Instead, selecting native, slow-growing trees minimizes future issues and supports local biodiversity.
Remember, landscaping isn’t just about beauty; it’s about creating a sustainable and resilient environment. Skipping soil tests, misjudging watering needs, neglecting drainage, or choosing incompatible plants can turn your lush dreams into a maintenance nightmare. So, before you start your next project, re-examine your assumptions and embrace the nuances that make all the difference. If you want to master the art of yard transformation, check out this comprehensive guide. Have you ever fallen into this trap? Let me know in the comments.
Keep Your Yard in Top Shape with the Right Tools
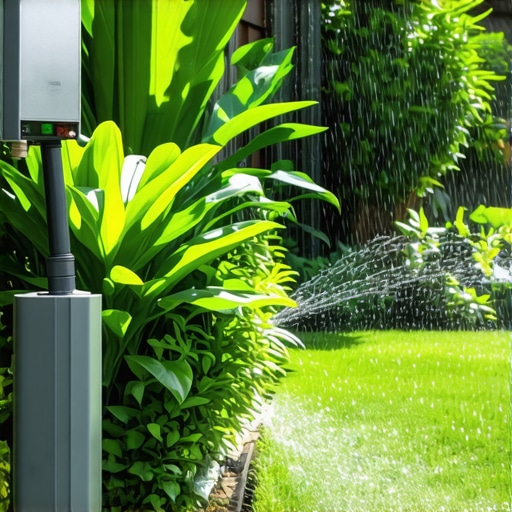
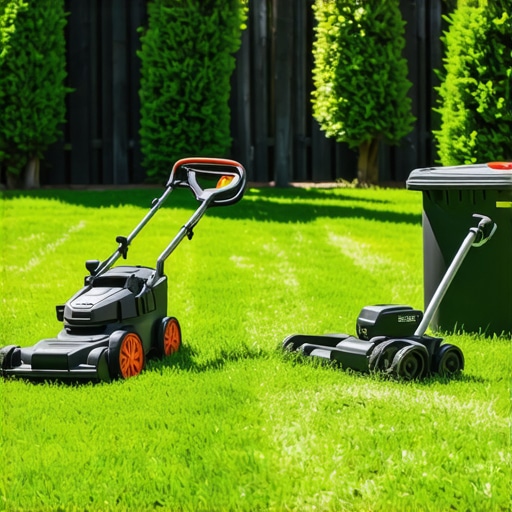
Maintaining a lush, healthy yard over the long term isn’t just about initial setup; it requires consistent effort, the right equipment, and smart techniques. I personally swear by a few specialized tools that streamline ongoing maintenance and help prevent small issues from becoming major problems. For yard cleanup, I recommend investing in a high-quality leaf blower and mulcher combo, like the Stihl BG 50, because it effectively clears debris while mulching leaves into nutrient-rich compost for your garden beds—saving time and reducing waste. For irrigation, an智能 sprinkler controller such as the Rachio 3 allows you to schedule watering precisely according to weather forecasts, conserving water while ensuring your grass gets the right amount. This automation is where I see future landscaping heading: smart systems that adapt dynamically to environmental conditions, reducing maintenance effort and optimizing resource use.
When it comes to maintaining sod health, a soil moisture meter like the Blumat Classic helps me monitor root zone hydration without overwatering. Over time, these sensors provide critical data, enabling me to adjust watering schedules proactively, which prevents issues like root rot or drought stress. As the trend toward sustainable landscaping advances, integrating these IoT devices will become standard practice, making yard care more efficient and eco-friendly.
How Do I Keep My Landscaping Tools Performing Well?
Regular maintenance extends tool life and ensures their effectiveness. For example, I clean my sprinkler heads monthly and replace worn nozzles to prevent disease spread and uneven watering. Sharpening mower blades before each mowing session maintains clean cuts that promote healthy grass. Additionally, keeping a dedicated storage cabinet for chemicals, tools, and seasonal equipment minimizes clutter and damage, allowing quick access when needed. By establishing a routine maintenance schedule, I maximize the lifespan of my tools and stay ready for seasonal tasks, from spring yard cleanup to fall leaves removal. For efficient yard cleanup, check out this guide.
Looking ahead, the integration of AI-driven lawn management apps will further simplify maintenance routines. These platforms will analyze sensor data, weather patterns, and soil conditions to recommend personalized care schedules. To get started now, try automating your watering system with a smart controller—I’ve found that it reduces water waste and keeps my grass uniformly green during dry spells. Embracing these technologies and consistent tool upkeep ensures your yard remains a source of pride without endless effort. Ready to upgrade your tools? Start by testing your soil with a moisture meter and consider automating your irrigation for lasting results. Remember, investing in quality equipment and maintenance habits today paves the way for a stunning yard in 2026 and beyond.
The Hidden Lessons That Changed Everything
One of the most impactful insights I uncovered was how individual soil variations can dramatically influence lawn success. Realizing that not all patches respond equally to fertilizers or watering schemes taught me to pay attention to micro-environments within my yard. I learned to tailor my approach for each section, which saved time and improved results, proving that personalized strategies rooted in soil knowledge outperform generic advice every time.
Another lightbulb moment was understanding the importance of patience. I used to expect immediate results after amendments or watering adjustments, but true soil and grass health develop over weeks and seasons. Embracing this timeline prevented me from making reckless changes and helped me stay consistent, eventually leading to a thriving, resilient yard in 2026.
Lastly, I discovered that investing in quality tools and professional advice is never wasted. High-quality soil test kits and engaging with experienced landscapers provided insights that DIY methods often miss. Combining expert knowledge with the right equipment created the foundation for success, turning my yard from patchy to picture-perfect without endless trial and error.
My Essential Toolkit for Yard Triumphs
Over the years, I’ve come to trust specific tools that make maintaining a lush yard less stressful and more effective. A reliable soil moisture meter, like the Blumat Classic, has been a game-changer, providing real-time feedback on watering needs and preventing overwatering damage. For irrigation, I rely on smart controllers such as Rachio 3, which adapt watering schedules based on weather forecasts—saving water and money while keeping my grass happy. These tools, combined with well-chosen resources like professional sod installation strategies, have empowered me to achieve exceptional results in 2026. Investing in quality equipment and trustworthy advice truly pays off when cultivating a yard you can be proud of.